DESCRIPTION
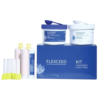
GC Flexceed Putty & Light Body + Dispensing Gun Combo
Vinyl polysiloxane impression material
FLEXCEED, with its lowest contact angle, displaces moisture and lows into subgingival areas rather than lowing away to mucosal surfaces, thus producing accurate impression detail.
It has High Initial Hydrophilicity & Viscosity . It gets pushed into the sub-gingival area easily to register the details. The flow of FLEXCEED Putty-Wash is better than most of the brands.
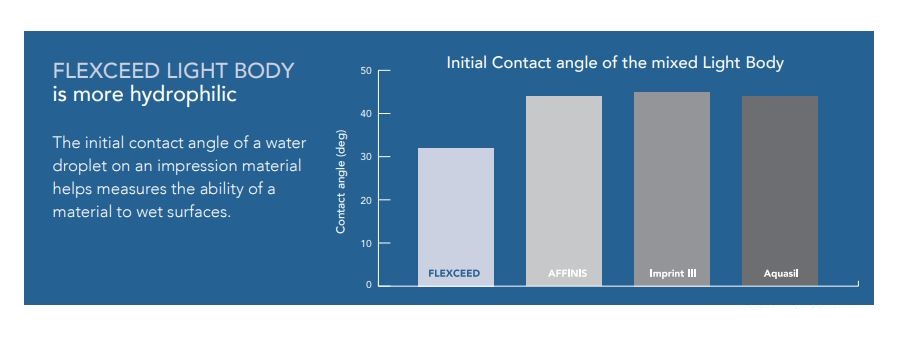
FLEXCEED LIGHT BODY is more hydrophilic:
The initial contact angle of a water droplet on an impression material helps measures the ability of a material to wet surfaces
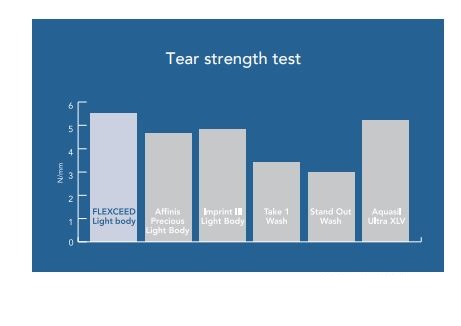
FLEXCEED exhibits the highest tear strength to give an accurate impression detail everytime.
The subgingival and interproximal regions of the impression are often very thin and can tear during the removal of the impression. FLEXCEED has been tested to have the highest strength to resist tearing in comparison to other vps impression materials.
 The subgingival and interproximal regions of the impression are often very thin and can tear during the removal of the impression. FLEXCEED has been tested to have the highest strength to resist tearing in comparison to other vps impression materials.
INDICATIONS:
- For impressions in cases of veneers, inlay, onlay, crown or bridge
KEY SPECIFICATION
PHYSICAL PROPERTIES:
|
LIGHT BODY |
PUTTY |
| Mixing Time |
|
20 sec |
| Total Working Time |
2 min |
1 min |
| Minimum time in Mouth |
3 min |
3 min |
| Elastic recovery |
More than equals 98% |
More than equals 98% |
| Strain in Compression |
2.5-3.5 % |
1-2% |
| Linear dimensional change |
Less than or equals to 0.20% |
Less than or equals to 0.20% |
| Detail Reproduction |
20 μm |
75 μm |
| Compatibility with Gypsum |
20 μm |
75 μm |
PACKING
- 1 x (500g) 278ml Base
- 1 x (500g) 278ml Catalyst
- 2 x 50ml Light Body
- 8 Mixing tips
DIRECTION TO USE
I. Single step putty wash impression
STEP 1:
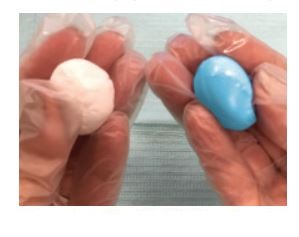
Take equal quantities of FLEXCEED base & catalyst using the prescribed scoop
STEP 2:
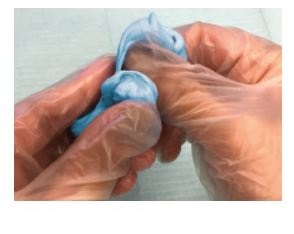
Knead the FLEXCEED base & catalyst until a uniform blue color is achieved
STEP 3:
Load the FLEXCEED putty mix on the tray

STEP 4:
Inject the FLEXCEED light body onto the putty mix making sure that the nozzle remains immersed to prevent air entrapment
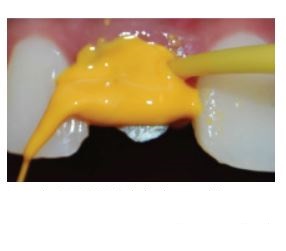
STEP 5:
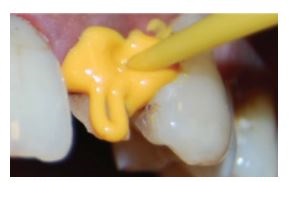
Using the intra-oral tips, inject the FLEXCEED light body directly around the prepared tooth
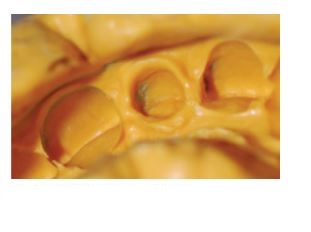
STEP 7:
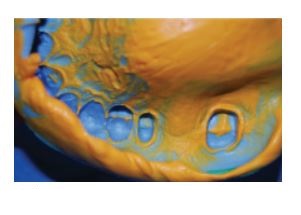
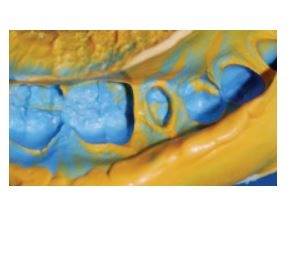
Final impression is easy to read due to the contrasting colour of FLEXCEED
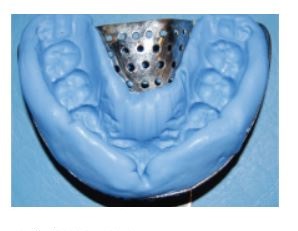
II. Impression for complete denture
STEP 1:
Apply GC tray adhesive
STEP 2:
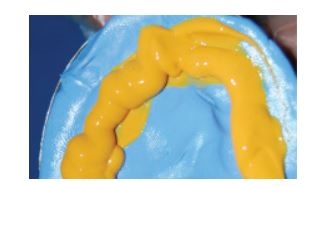
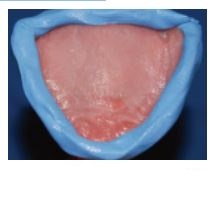
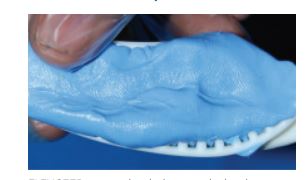
Bourder moulding using FLEXCEED putty
STEP 3:
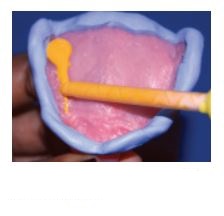
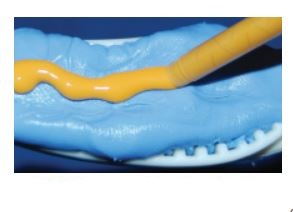
FLEXCEED light body is loaded onto the individual tray
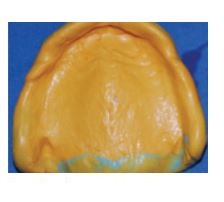
STEP 4:
Completed upper impression
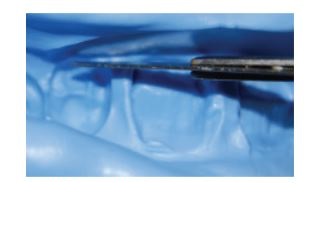
Double step putty wash impression
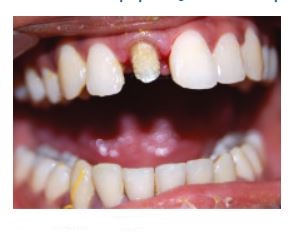
STEP 1: Prepared tooth for crown
STEP 2: After applying GC tray adhesive, FLEXCEED putty Putty impression is taken is loaded on the stock tray

STEP 3: Putty impression is taken
STEP 4: Using the putty cutter, create a space for the light body
STEP 5: Inject the FLEXCEED light body around the prepared tooth, then immediately re-seat the putty tray impression
STEP 6: Final impression using FLEXCEED
Dual Arch impression
STEP 1:
FLEXCEED putty is loaded onto a dual arch tray
STEP 2:
FLEXCEED Light Body is injected over the putty Final impression. then impression is taken


")


Reviews
There are no reviews yet.